Last week I delivered a science session where two 9 year old girls were overheard explaining the concept of ground pressure to each other.
Talavera PS-What lovely children to work with! We had fun with our vehicle design challenge. Thanks to @Pastparticipant for a great session! pic.twitter.com/nZElEJrz1z
— Beth Thomas (@BethT1965) January 20, 2017
STEAM?
OK, let’s go right back to the beginning.
Away back in the depths of time, by which I mean a few years ago, there was maths, there was, science, there was engineering. These subjects, or ones closely related, were taught at schools. Someone cottoned onto the fact that they were not seen as cool, and that they were not popular for students. So they decided to find a way of making them cool. They grouped them together and called them STEM (science, technology, engineering and maths). Someone in government noticed this and, as well as realising that scientists, engineers and mathematicians were economically valuable, decided that this was something worth funding.
So people started focussing on making STEM exciting for people, in the hope that they would choose them for further study or, at least, have a reasonable understanding of them. And people began to take notice. Cool things aimed at teaching “STEM” began to appear and everything was cool.
Except that it wasn’t. Whilst some STEM teaching was amazing and fascinated people, there was a perception that it was easy to make reductive. It began to be seen as boring. More concerningly, it gained a perception as being “for boys”. It gained a perception (rightly or wrongly) as turning off creatively-minded people. Particularly girls.
So some other people decided to do something about it. They decided to put the creativity back in. They added “arts” to the mix. This created STEAM, a much more pleasing acronym if nothing else.
STEAM was taken to mean using science and maths creatively, using science and maths in an entrepreneurial way (whatever that actually means), taking these subjects out of the lab and the classroom into a more freeform environment. It was specifically aimed at telling people that “science and maths are for you, even if you find that kind of thinking difficult.” It was particularly aimed at enticing girls.
And that attracted money.
Which is where I come in.
Reaching out
Hampshire Cultural Trust secured some money for developing STEAM activities at some of its museums with the goal of widening participation in the north of the county. They hired a group of learning people to design those activities. One of those professionals was me.
I was asked to work with Aldershot Military Museum to create something.
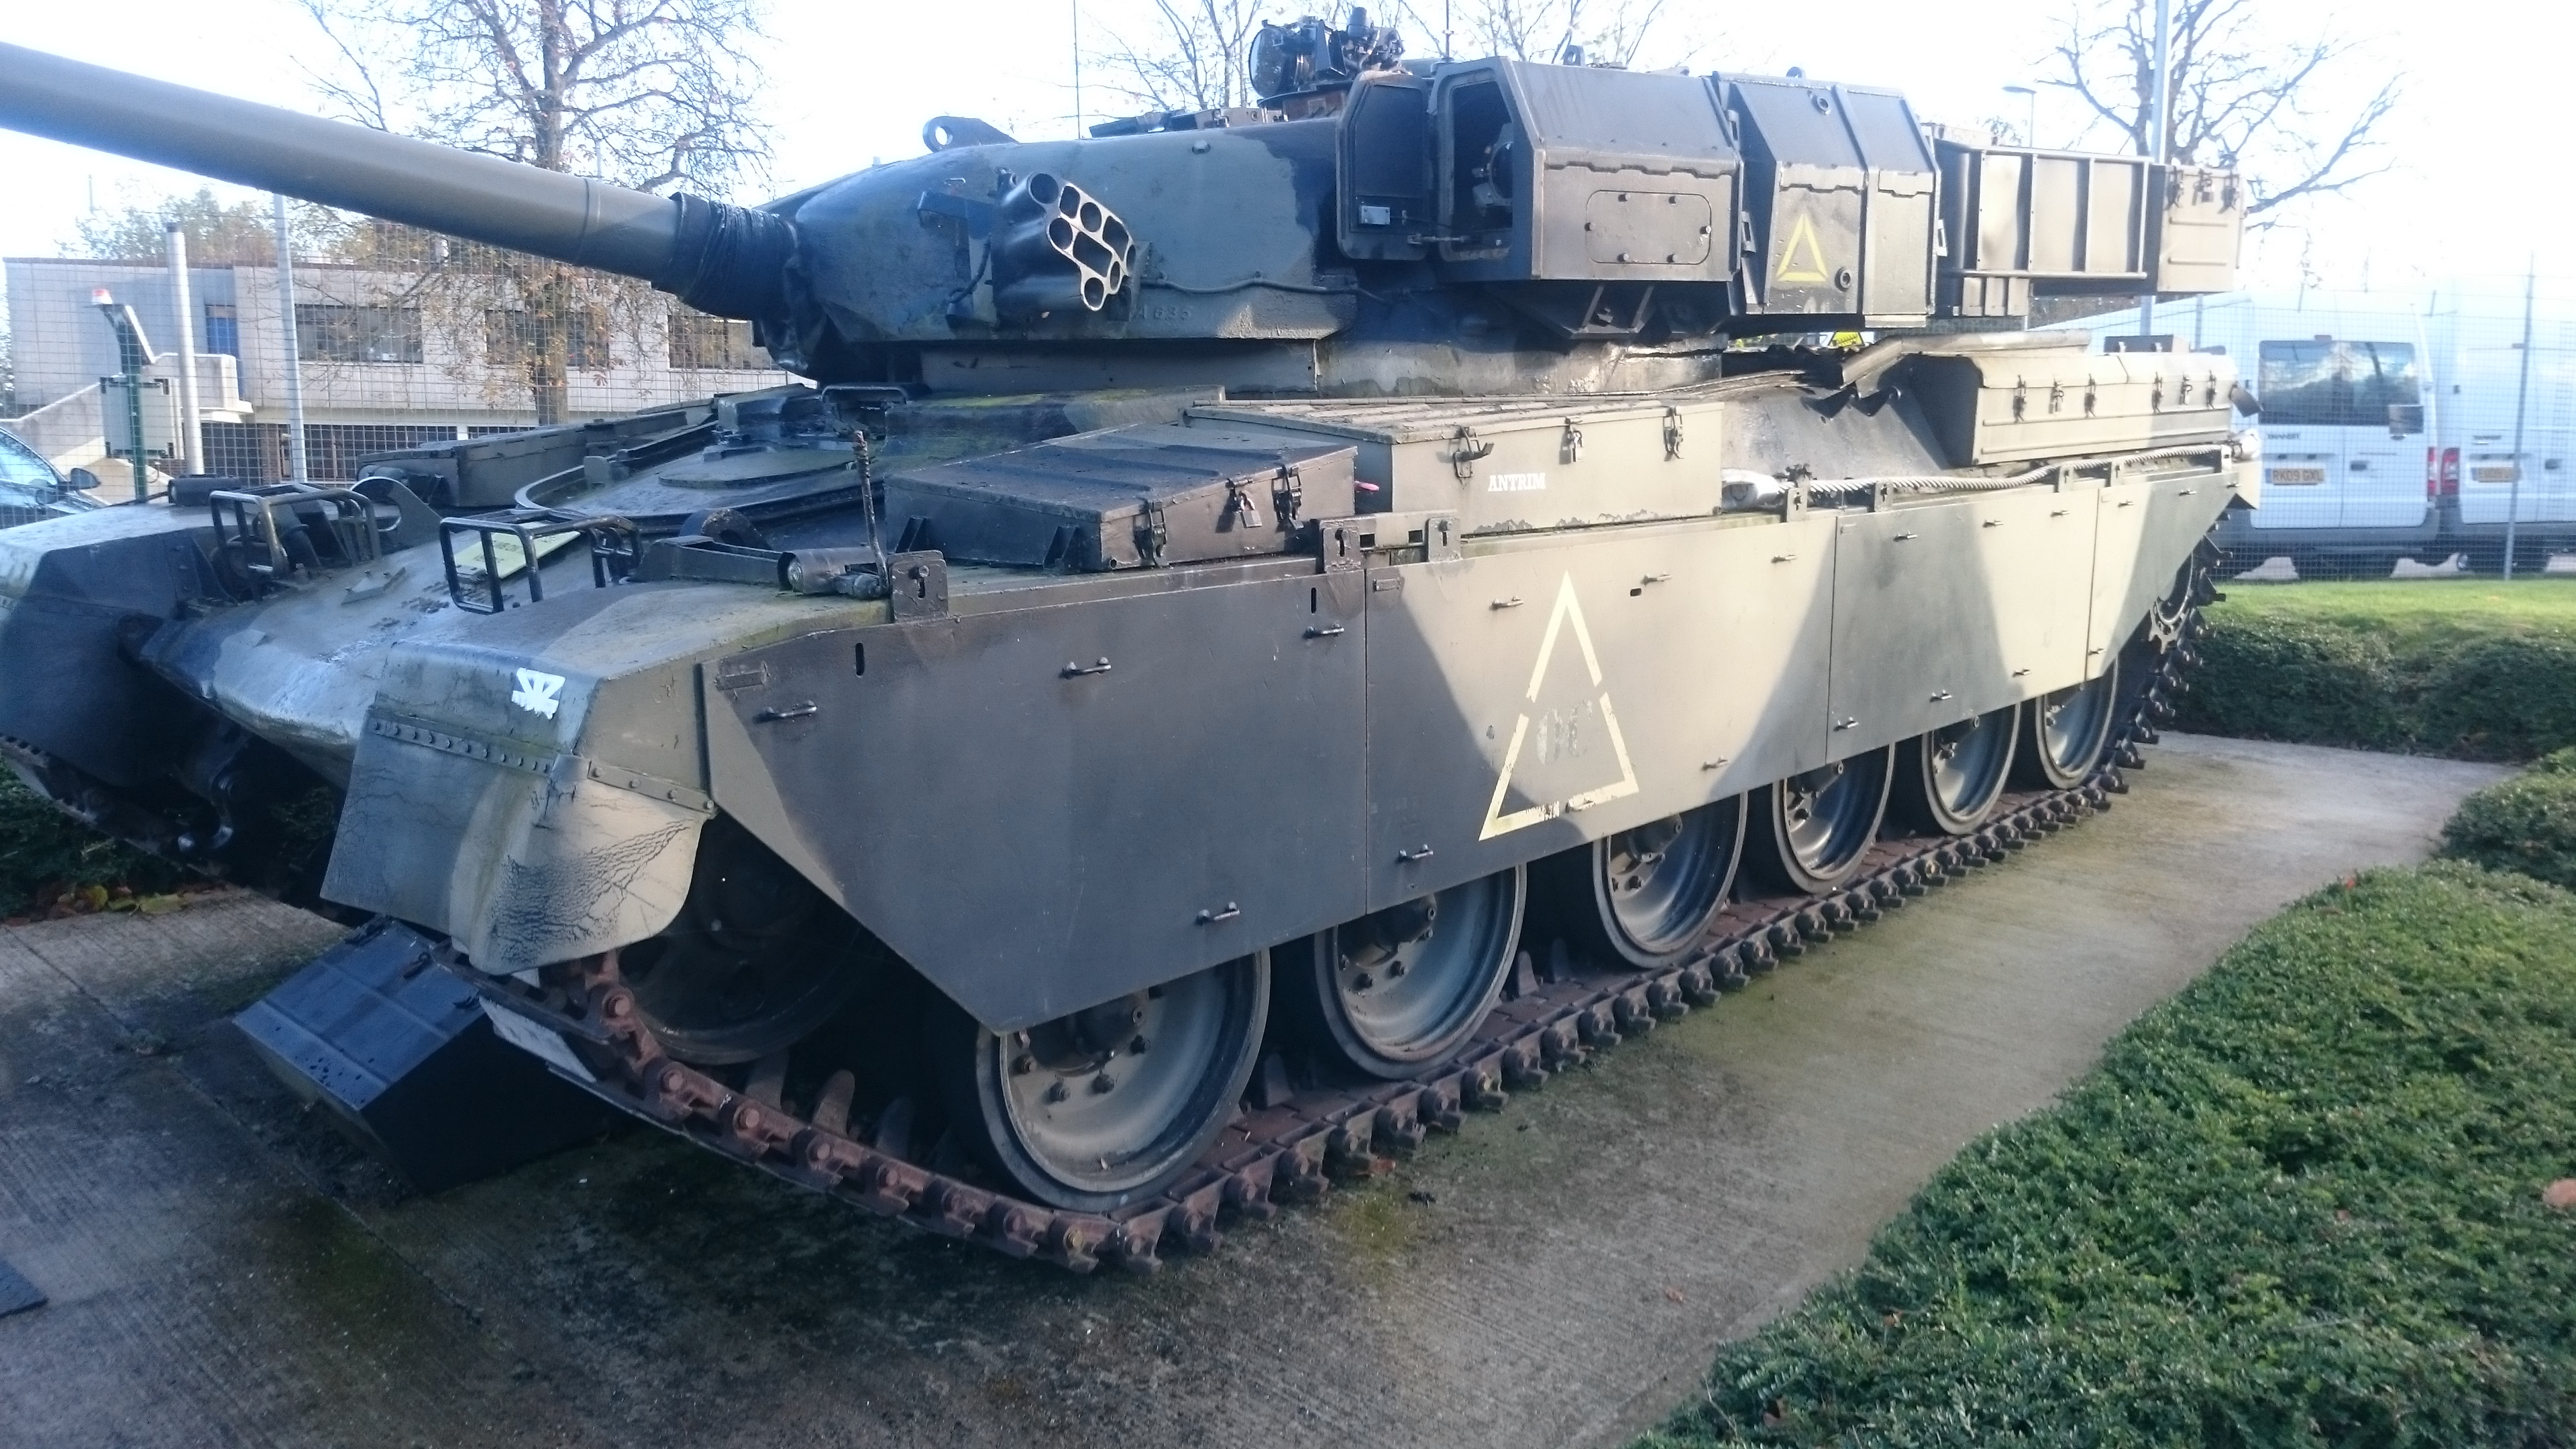
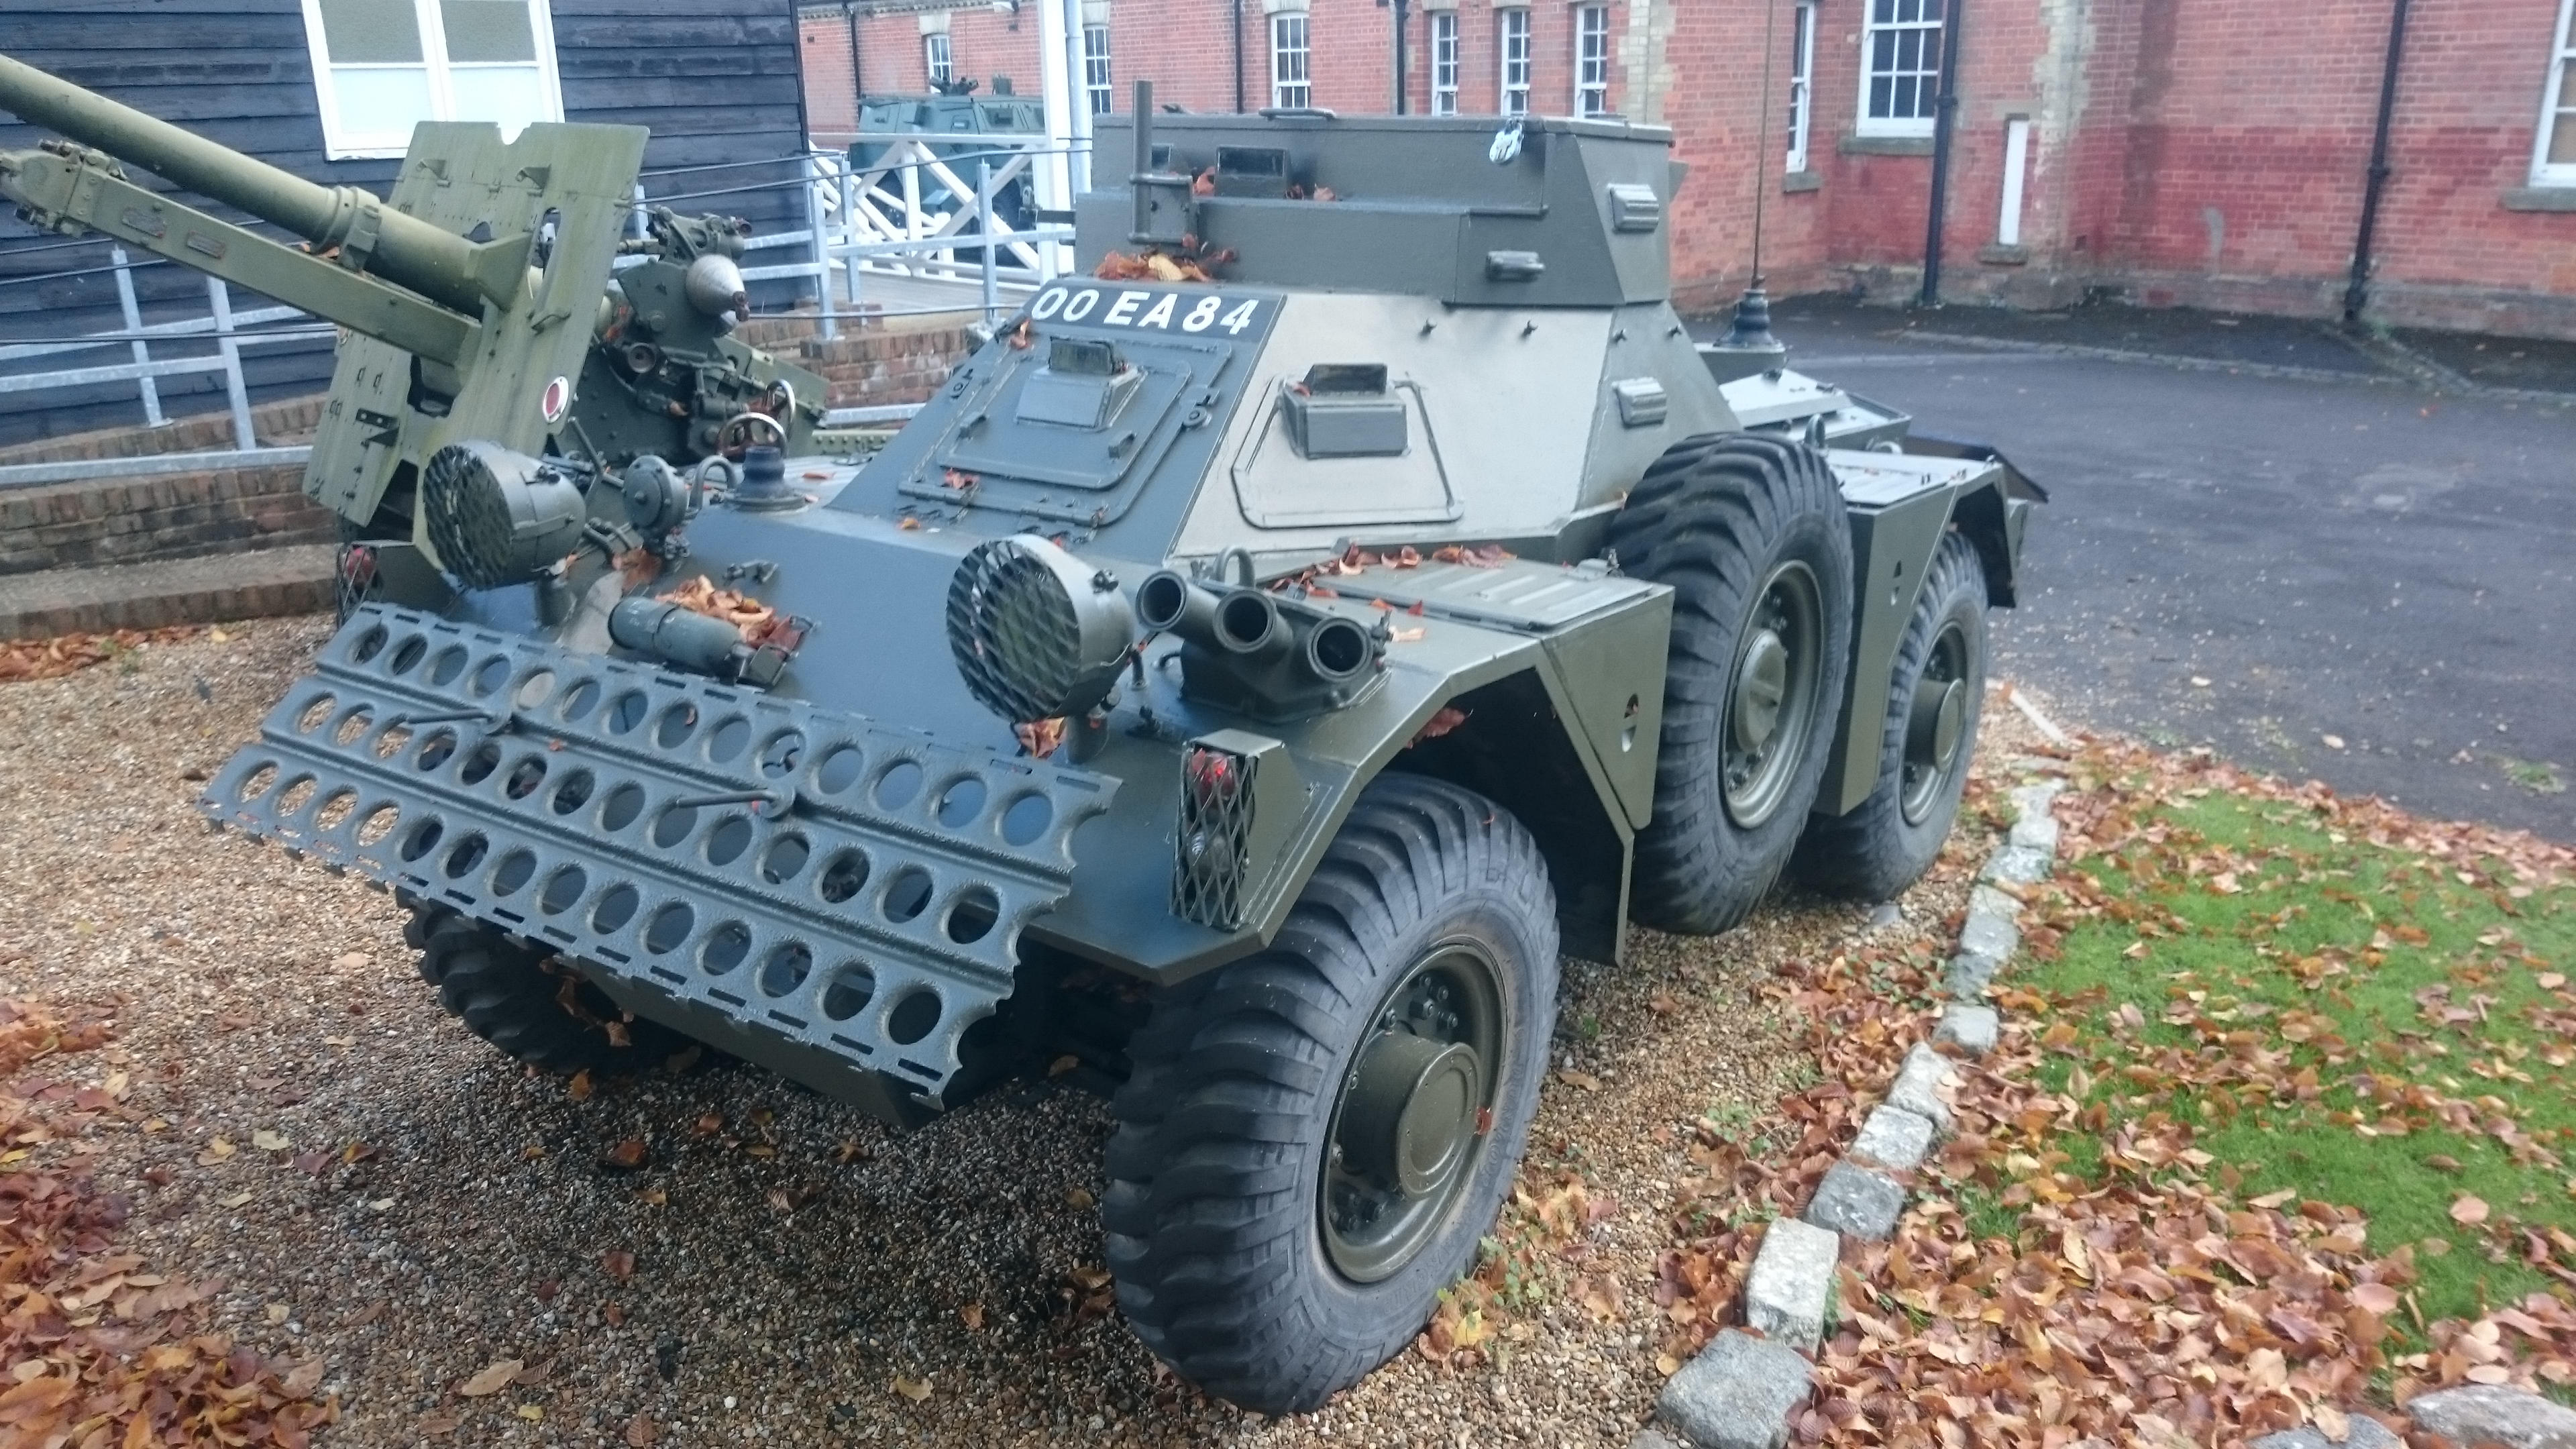
After a long chat with the people at Aldershot, we decided that they’d really like something about their military vehicles. For a very small site, their collection of military vehicles is really impressive. Particularly for someone like me who is definitely not an engineer.
I didn’t even know there was such a thing as a “favourite tank fact”, much less actually have one.
It’s been a steep learning curve.
We designed a session where the students play members of a fictional regiment who have to create vehicles to get to remote villages to deliver aid after a natural disaster. They are given a problem but they can solve it any way they like.
The idea is that they go and look at the actual vehicles and use them as inspiration and to help their understanding of the concepts involved.
There are all sorts of links to the STEAM areas of the National Curriculum but they are lurking under the surface during the session as the children focus on getting help to stranded people in time.
Making models
In my wisdom and in possession of a reasonable budget I decided that we would give the students kits to actually build the models of the vehicles to meet the challenge. I found a German manufacturer of meccano-like kits for education and set to work on putting kits together.
My first attempts to build something with the kits is detailed in embarrassing detail in this post.
After that, I honed in on what we wanted to learn and built some kits that the students would use to build their vehicles. Each of those kits takes about an hour to put together from the box (apart from the bits that need glue: they take a little longer). Which is fine except that there are six of them.
Knowing how much each bit weighs and how big some of them are I could make calculations about what properties different configurations might have.
Now all I had to do was design a session that would help children understand weight, power:weight ratio and ground pressure.
(Ground pressure is the footprint of an object divided by its weight. It’s a measure of how much force is put through each metre square of a surface it’s on.)
If you will excuse the pun: no pressure.
The heat of combat
The first test of the session showed that the session was sound but needed a lot of work. I had tried to introduce too many things at once and things got confused. Not back to the drawing board, but a rethink of the process.
So I created this amazing map of the island they are supposed to be on and a series of small missions so that they work through the concepts as well as giving more people a chance to get their hands on the metal.
It looked great and there were some funky, if I do say so myself, materials I’d designed to go with it.
Second time of asking: STEAM hot
The second test was a very different affair. We walked through the concepts, literally in one case. We managed to clear up the footprint and feet are not necessarily the same thing. We even managed to talk about ground pressure and why it’s important.
Then we set them loose with the kits and chaos ensued. Don’t get me wrong, they were having a blast and learning. But it was bedlam all the same. They all managed to build something that came in under the target weight.
The second mission saw them trying to build something with a certain power to weight ratio. That caused issues, but they understood that they were trying to build something as light and as powerful as possible. They actually got through that with the minimum of fuss.
Then came the acid test: could they build something with a ground pressure low enough that their vehicle wouldn’t sink in a bog? Actually, can they understand what ground pressure is? The answer is yes, even if the term kilopascal causes all kinds of confusion.
This is where the two girls were observed explaining it to each other. It was priceless. Not because it was funny but because they had clearly understood it perfectly. Even if one of them couldn’t remember what it was called. We also saw a number of girls actively wrestle the build kits away from the boys because they wanted to do some engineering. Really.
You cannot buy that kind of engagement.
Operation: forces
It was a great session and a few minor tweaks away from being spot on. It’s even got a name now: Op: forces.
So, if you are looking to engage people with STEM then STEAM with its emphasis on problem solving and creativity may well be what you’re looking for.
For more information on the session, look here. There might well be offers on for early adopters.
Favourite tank facts
Remember that?
I now have two:
- My bicycle (158kPa) has a higher ground pressure than a 70 tonne M1 Abrams Main Battle Tank (105kPa).
- The British army has more horses than tanks.
So, now you know.

 Opening the box
 Eitech tracked vehicle


 Bucket!


