vehicles

This Is What I do: playing with robots

This Is What I do: playing with robots

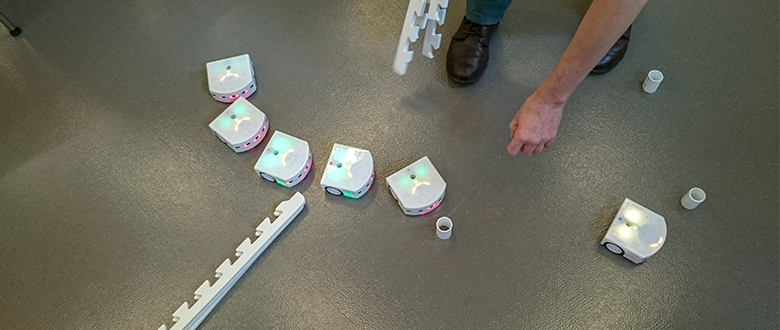
Here is a picture of my study last night: There are piles of floor tiles everywhere, a load of gaffer, a tape measure and a craft knife. Oh, and there’s a robot on the floor as well. So, what on earth is going on?

Robot study

Robot study

This is what the office looks like when I am getting ready to deliver a new session. This is what it looks like when I am creating the new materials for school sessions. I love this stage of creation: there is a real sense of things coming together and, finally, I get to see something in reality that’s been existing in my head (or on my computer) for a while. I really enjoy that feeling of creating something real. In reality, this scene is a very long way into the project, so it may well be instructive to know how I got here.

Way back, in the depths of time

This all began as a session that a client wanted to run in their museum. They came to me with a loose idea for a session based on robot programming for primary school children. What they wanted me to do was turn it into something real, something cool and something that works. No pressure.

Once we’d chatted a little, they sent me a consignment of their robots by courier and let me crack on with it.

Robot consignment

Robot consignment

The robot is created by a company called Thymio, it turns out they have a series of modes. They respond to the outside world in different ways depending on what mode they’re in. That’s cool but pretty limited. If you’re feeling more advanced they can be plugged into a computer and then you can really get inside them. They have a visual programming language (or VPL) so you can give them a series of “when, then” statements and then set them running. This is a lot of fun to tinker with, and fairly easy to understand what you would like to accomplish. I ended up tinkering with this for a while and getting really excited about the scenarios that we could play out with them.

Then I tried to get them to do something specific and realised that it’s far from straightforward. In fact, it’s downright tricky.

A return to the spec for the session reminded me that, not only was the session for KS1-2 (Primary) so I might be getting 5-6 year olds taking part, but it was only supposed to last an hour. Back to the drawing board.

Meanwhile, back at the plot…

So, what can we make for a group of primary school children? The session is for a military museum, so we’re really talking about how the military uses robots…hmmm…

Back to those six modes, and see what we can do with them? And then my creative juices got going. What scenarios could I create where the robots, with their pre-programmed modes, would be able to carry them out?

1 yellow mode, several green mode

1 yellow mode, several green mode

They have a mode that responds to clapping. You clap a certain number of times to make it do different things. Except when there is background noise like you might get in, say, a room filled with 30 odd primary school pupils. So, maybe not that one, then.

How about the one where you press buttons and it does what you tell it? Rather like remote control, only not remote. Probably not that one either.

Aaah, there’s a mode where it moves forward until it sees and obstruction then diverts to go past it. Now we’re talking. Hmm, is there a scenario..? How about a minefield? The robot needs to find a safe route through the mines by detecting them and diverting until it gets to the end. That has legs. That could be a lot of fun. That can be run with.

There’s also a mode where it will follow a black line on the ground. What can we use that for? I know: those black lines could be streets in a city, that cross each other like a maze. The mission is that they need to find a way through the city by using the robot without any people there because it’s too dangerous. This is beginning to come together. I like this pair of scenarios. They can work for wee ones because there’s no programming, but they’ll work well for older ones because they have to make a number of decisions that can materially affect the outcome.

Source material

Now, where does one buy a minefield from? Or some kind of giant city map where the roads are black and the background is white?

The answer, as is often the case in this business, is that don’t. Instead you create them out of other things. I can make round obstacles out of some white plastic piping that I have in the “workshop”. If I saw it into 5cm lengths I’ll have loads of them.

robot minefield

robot minefield

That’s that sorted. Now for that road map…

The client wanted it as big as possible, but they want it to go back in the cupboard at the end of the session and I’d like it to be modular so it can be adapted and more easily stored. Right, ok. So, basically, I’m looking at creating a giant jigsaw. Now, you can’t just pop out and buy a giant jigsaw with roads on it. Well, you can but it’ll cost you an arm and a leg. So, how can I construct something that fulfils the same role? Got it! Blank tiles that fit together and mark the roads with gaffer tape. A quick bit of playing revealed that there are only a few possible layouts for each tile so I can make several of each, which will result in all the options you could need.

Which lead to the situation in the study you saw above, making enough pieces for a jigsaw that’s 3m by 2.5m when laid out. All that’s left is to measure, mark, stick and cut that tape. This is important because the roads need to match up from one tile to the next, otherwise the robots won’t be able to follow them.

robot roadmap

robot roadmap

Disaster strikes!

Testing is always important. Testing shows up flaws that are unexpected.

This is no different. In this case it relates to the right-angle bend tiles. It turns out that, when faced with a dead end (which is what a right-angle bend is to them) the robot will always turn right until it finds a new way forward. Thus, when faced with a 90 degree corner to the left, the robot will turn right until it’s turned right the way round and duly headed back the way it came.

Bum.

Ok, big fella. Think about it for a moment, there must be a solution…Bear in mind at this point, I’m part way through taping up the tiles, so there’s not a lot of slack in the timescales.

Hmmm…What if the bend was two 45 degree turns rather than a single 90 degree one? Might that work?

Ok, tape it up, see what happens…Success! We’re back in the game.

Contact with the enemy

The next morning, I found myself crossing London with 32 foam tiles, 8 robots and about 40 “mines” in addition to such niceties as “lunch”.

Which was a challenge.

There is a saying in the military: no plan survives contact with the enemy. That could well be said of lesson plans and children. Which is why we pilot these things.

Was I nervous? Yes. In theory, everything should work. Practice is not theory. Everything could fall apart around my ears.

Setting up on my own, waiting for the class to arrive is always a fun time.

I needn’t have worried though. Almost everything went as planned.

They were able to do the first experiment: to work out which mode was which.

The clapping mode was an utter disaster in a room full of children. That was what I expected. The other modes worked fine (though the “purple” looked blue and the “blue” was very much cyan, which caused a few issues).

They (mostly) managed to make their robot navigate the minefield.

They even managed to use the robot to rescue the wounded soldier (artist’s model) from hostile territory (those tiles I spent ages putting gaffer tape on).

Everyone was happy.

And it finished on time.

I got to walk home without all that stuff.

Right. Let’s try to break the robot

Following that we got the team together, along with volunteers, so I could show them how it all worked.

And we did the most important testing (after letting children loose with it), and that’s stress testing: where you deliberately try to break something by doing it wrong or seeing if you can use the wrong answer to still get to the finish.

This is often a lot of fun, so long as you don’t identify any fatal flaws. Sometimes you discover a loophole and deliberately leave it in as a reward for creative thinking. In this case we discovered it was possible (just) to successfully navigate the minefield by putting your robot behind someone else’s and setting it to “follow” mode. We left that in to see if anyone thought of it.

Walk away

There comes a point in this process where you just have to put it down. Where you have to walk away from the thing you’ve invested time, effort and creativity in. It’s not mine any more, it’s theirs. They will use it and deliver it as they see fit.

I will probably never see it again.

And that’s quite sad

Until someone asks you to do something else cool…

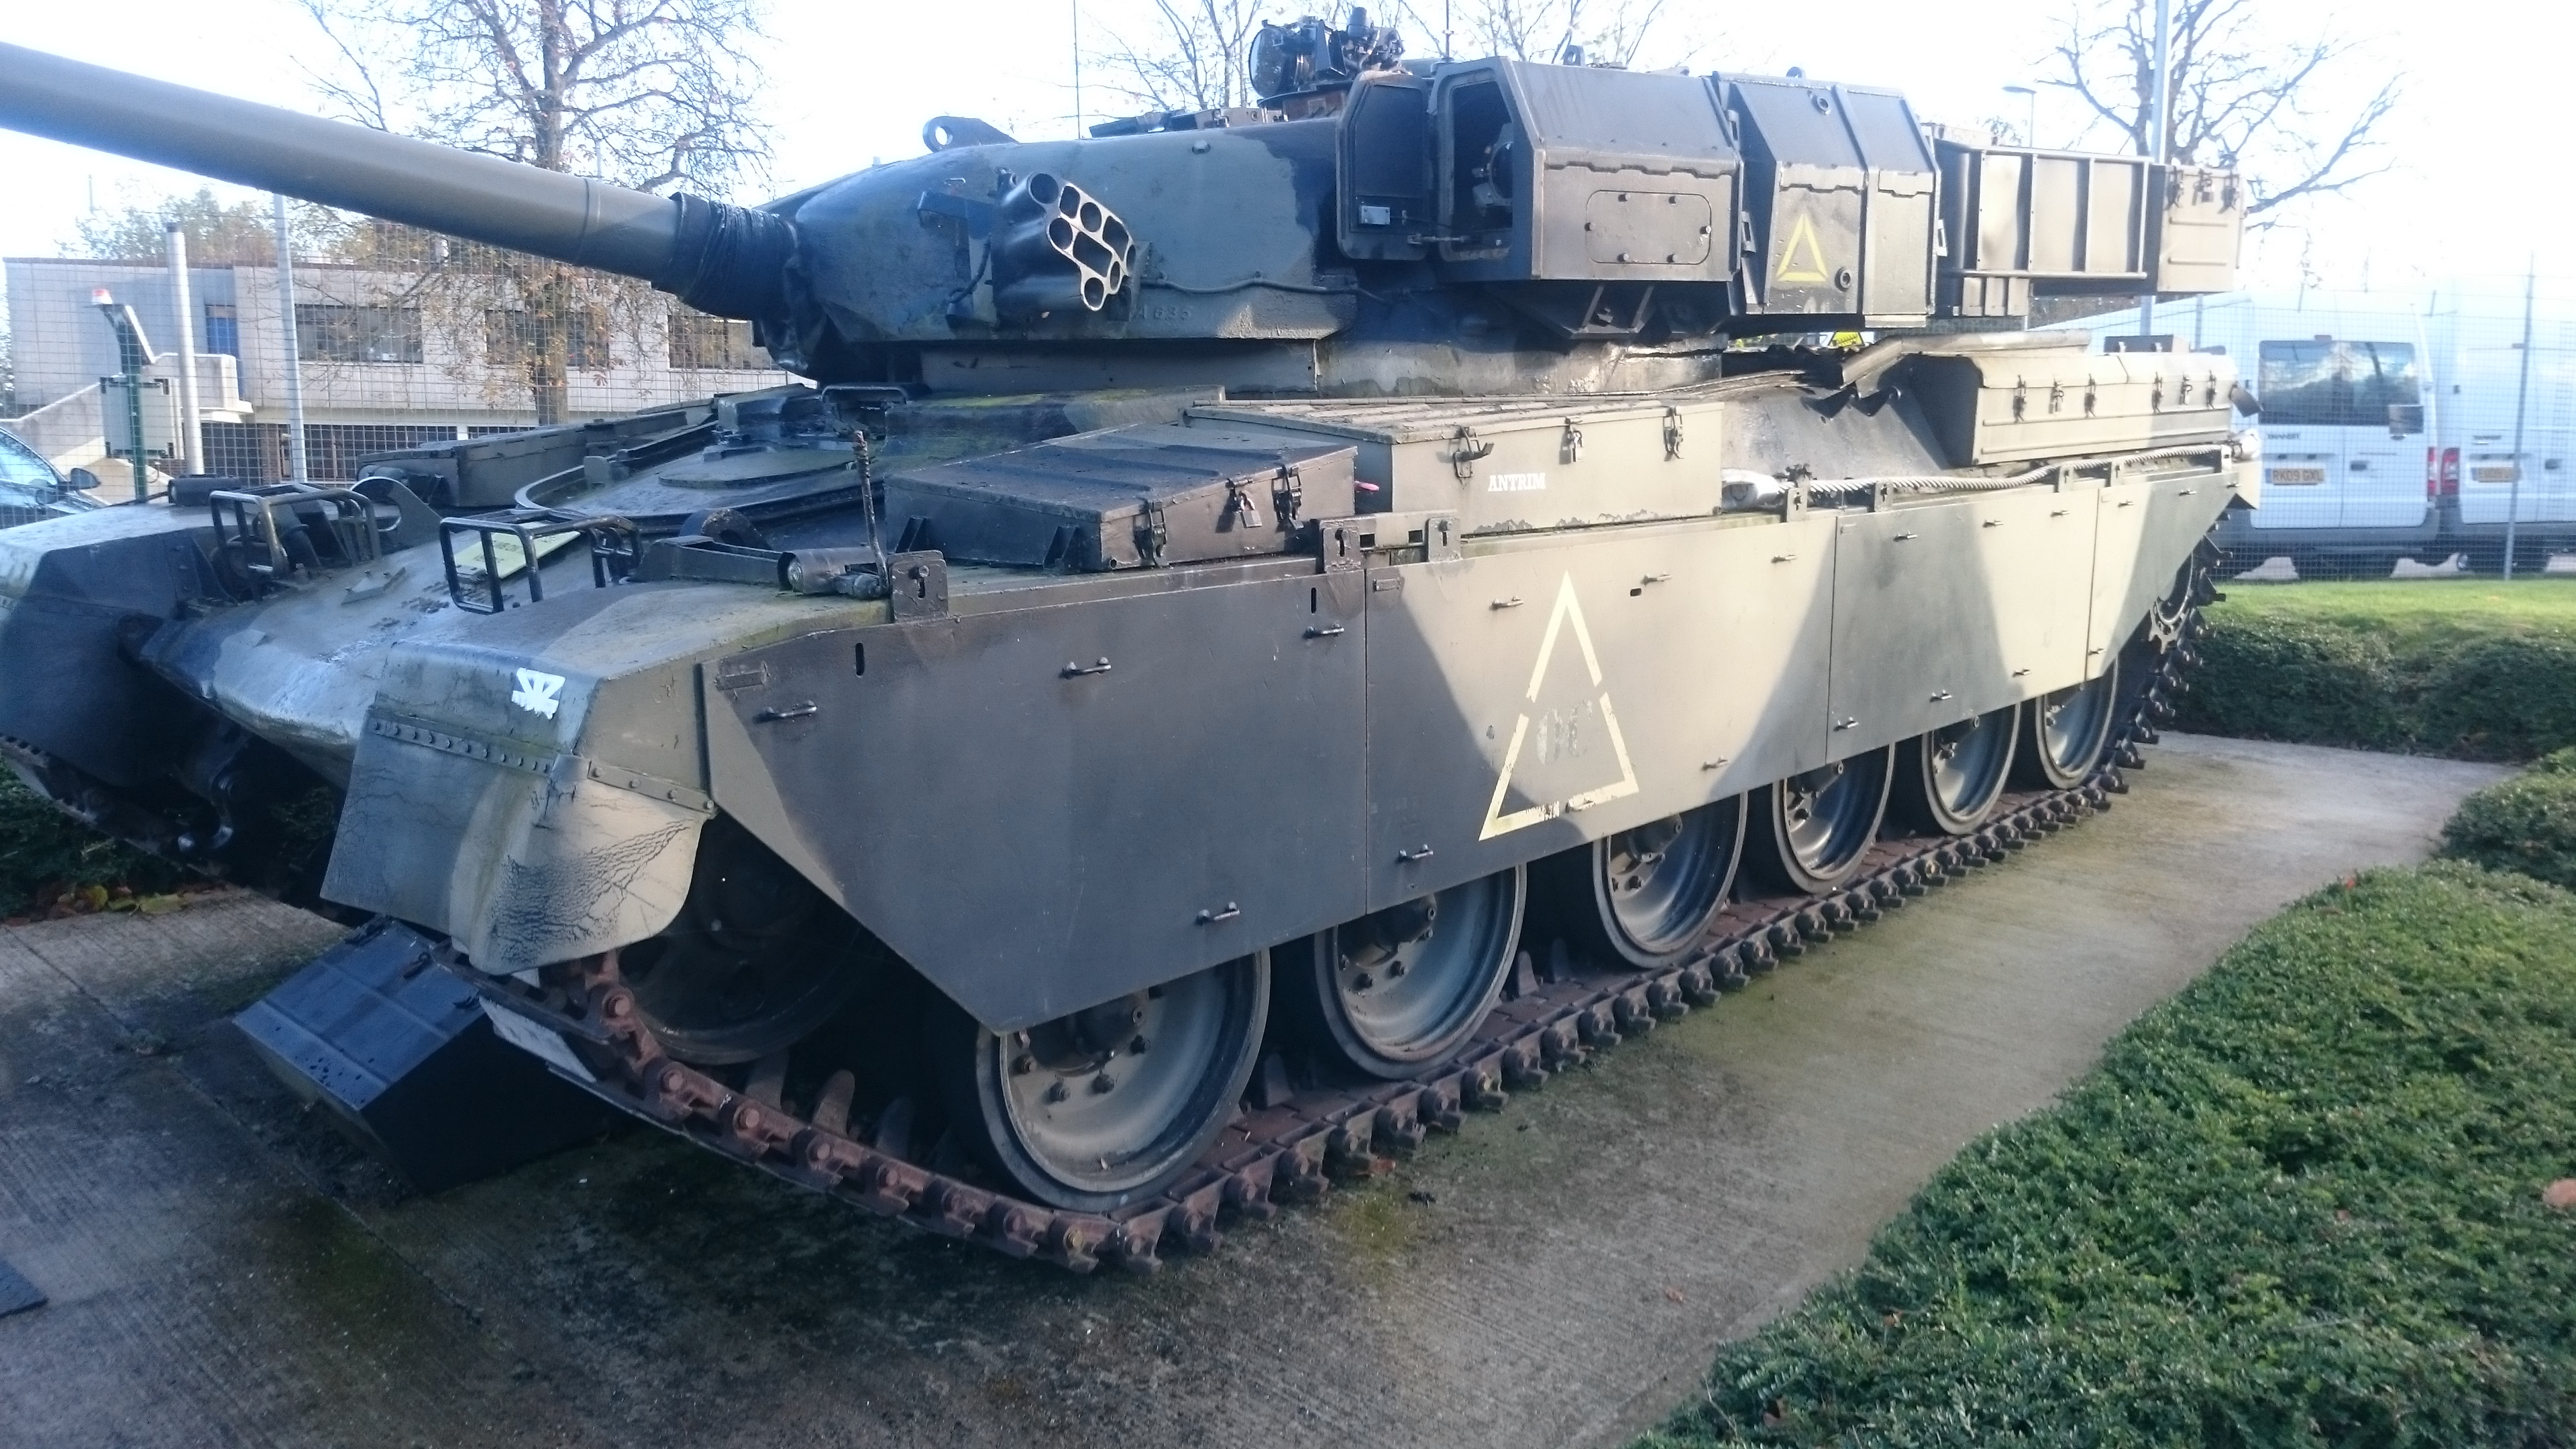
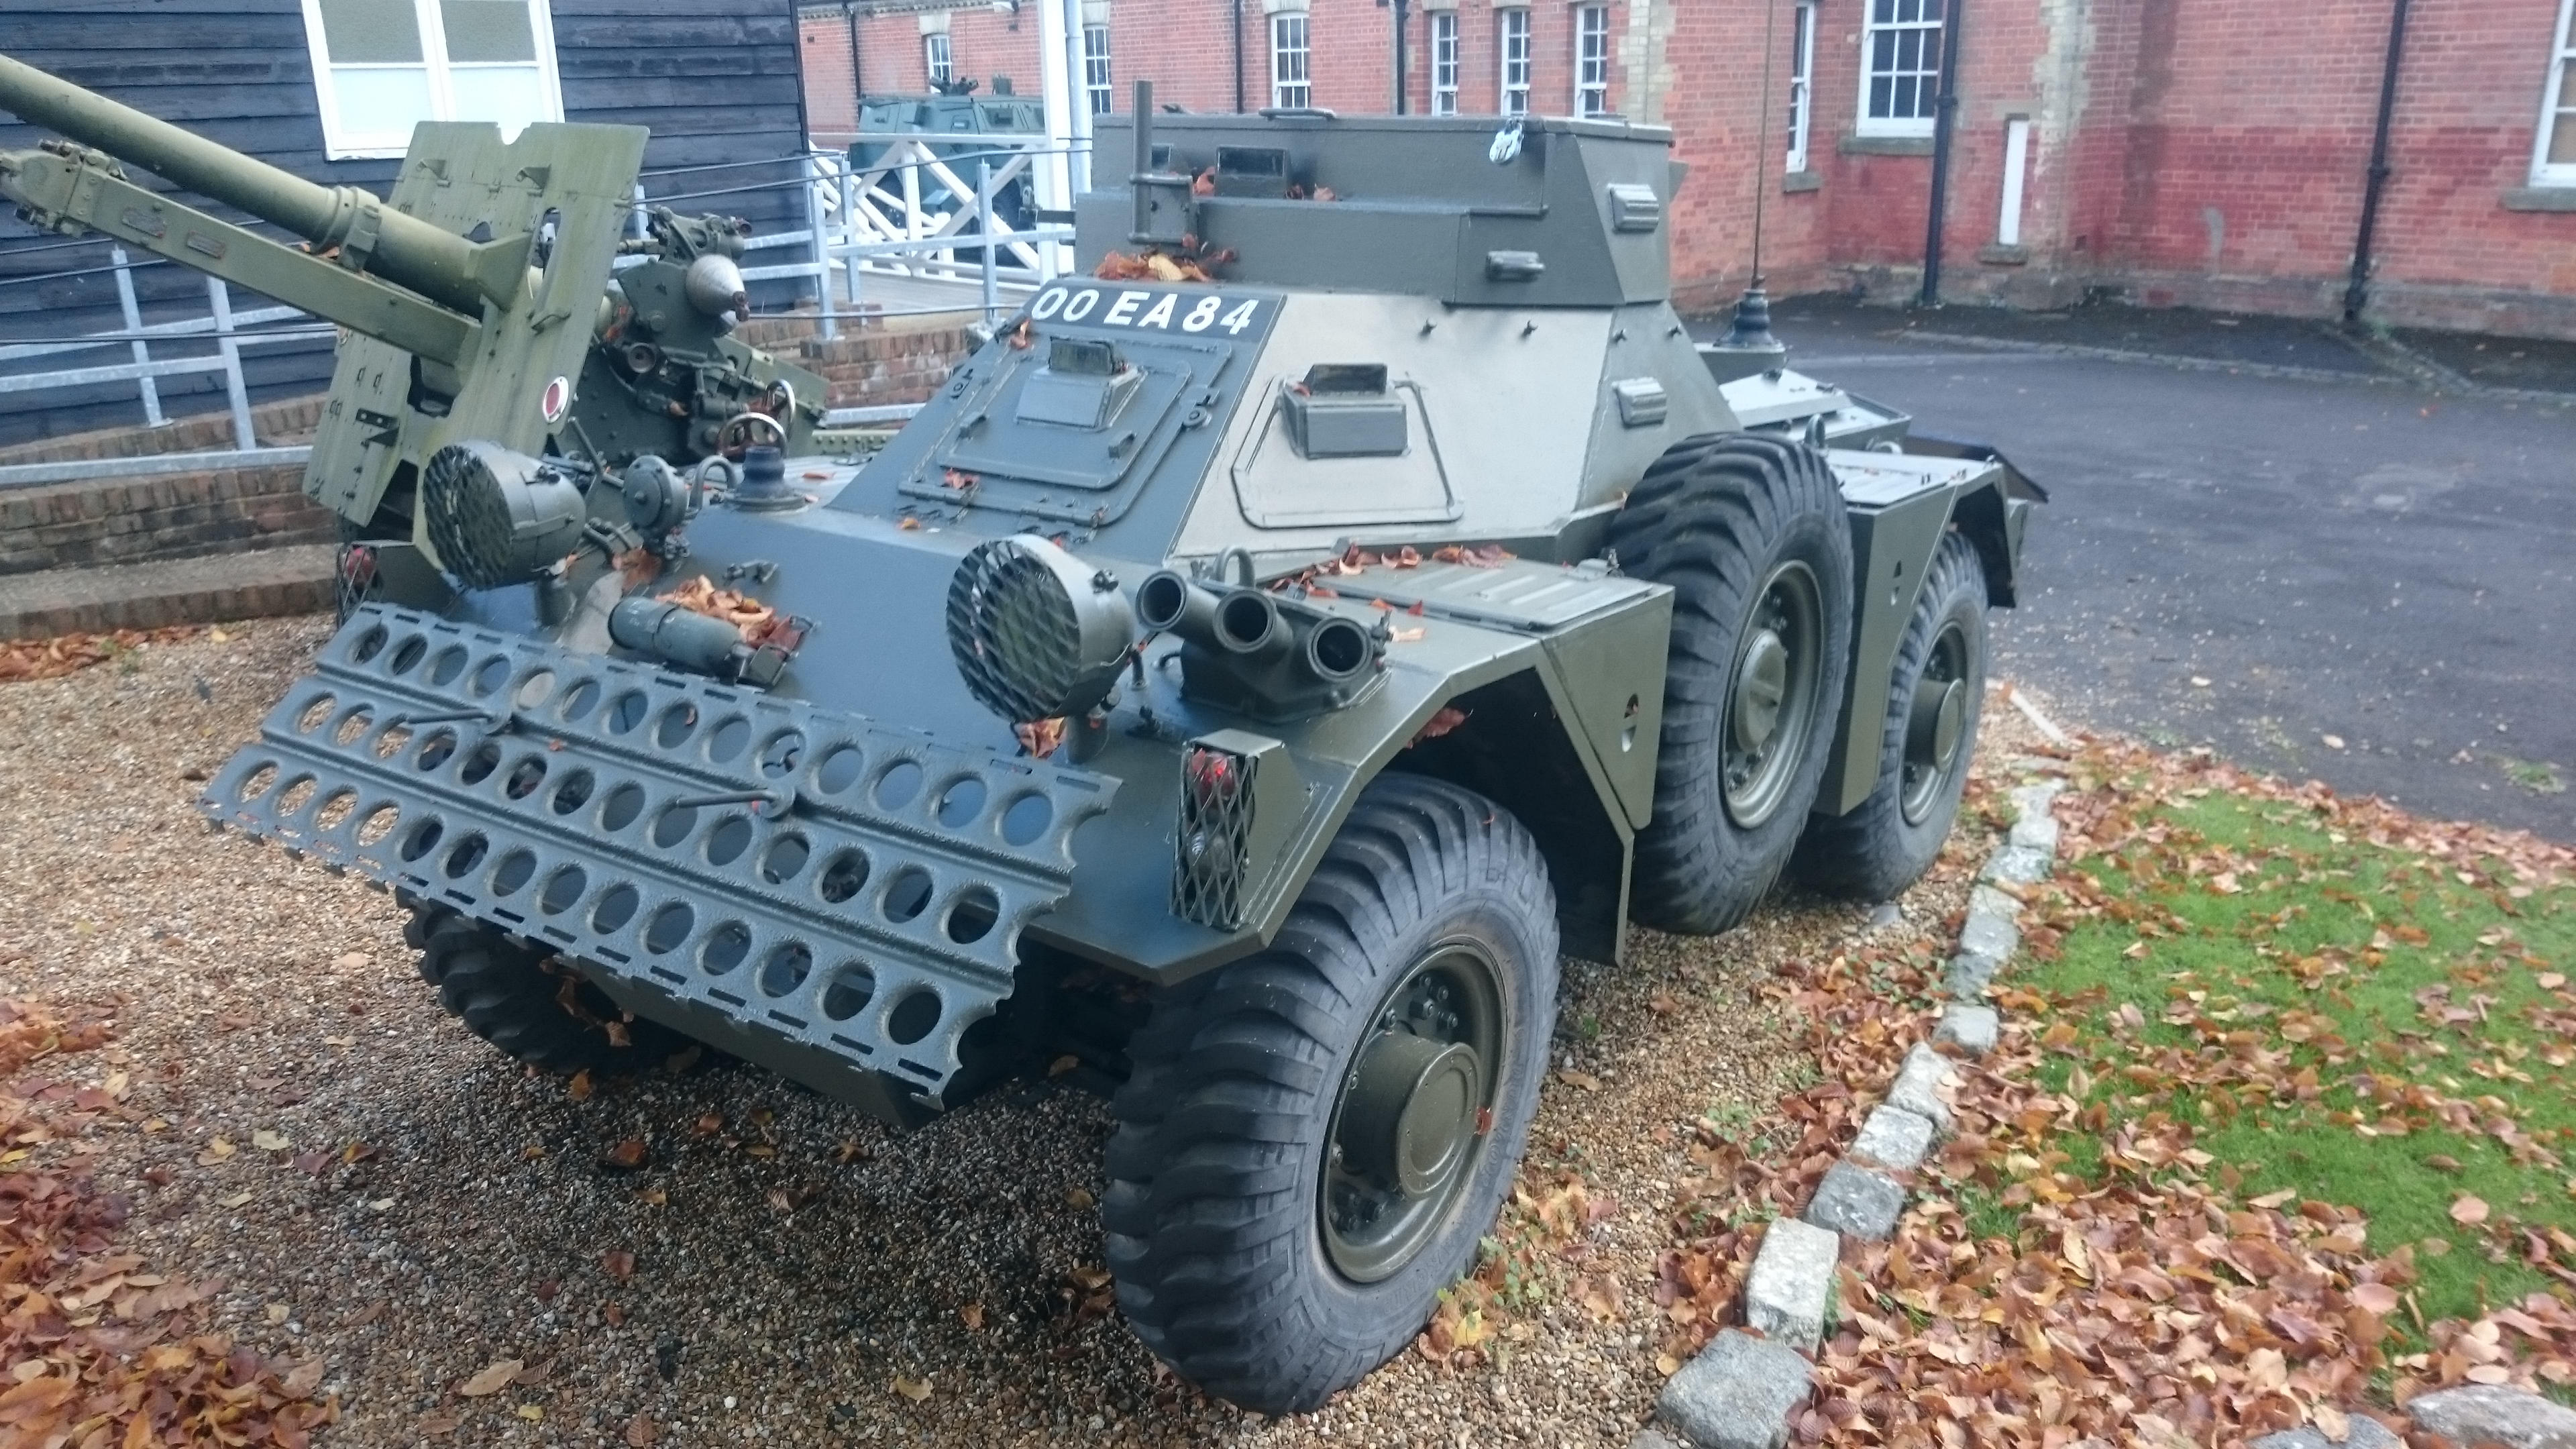
…You want me to make an event where we tell the story of tank battles using radio-controlled tanks?

“Quick! To the bat cave! I have an idea!”

Tank testing

Tank testing

Posted by Past Participants Andy in Session design, 0 comments
STEAM Powered girls

STEAM Powered girls

Last week I delivered a science session where two 9 year old girls were overheard explaining the concept of ground pressure to each other.

STEAM?

OK, let’s go right back to the beginning.

Away back in the depths of time, by which I mean a few years ago, there was maths, there was, science, there was engineering. These subjects, or ones closely related, were taught at schools. Someone cottoned onto the fact that they were not seen as cool, and that they were not popular for students. So they decided to find a way of making them cool. They grouped them together and called them STEM (science, technology, engineering and maths). Someone in government noticed this and, as well as realising that scientists, engineers and mathematicians were economically valuable, decided that this was something worth funding.

So people started focussing on making STEM exciting for people, in the hope that they would choose them for further study or, at least, have a reasonable understanding of them. And people began to take notice. Cool things aimed at teaching “STEM” began to appear and everything was cool.

Except that it wasn’t. Whilst some STEM teaching was amazing and fascinated people, there was a perception that it was easy to make reductive. It began to be seen as boring. More concerningly, it gained a perception as being “for boys”. It gained a perception (rightly or wrongly) as turning off creatively-minded people. Particularly girls.

So some other people decided to do something about it. They decided to put the creativity back in. They added “arts” to the mix. This created STEAM, a much more pleasing acronym if nothing else.

STEAM was taken to mean using science and maths creatively, using science and maths in an entrepreneurial way (whatever that actually means), taking these subjects out of the lab and the classroom into a more freeform environment. It was specifically aimed at telling people that “science and maths are for you, even if you find that kind of thinking difficult.” It was particularly aimed at enticing girls.

And that attracted money.

Which is where I come in.

Reaching out

Hampshire Cultural Trust secured some money for developing STEAM activities at some of its museums with the goal of widening participation in the north of the county. They hired a group of learning people to design those activities. One of those professionals was me.

I was asked to work with Aldershot Military Museum to create something.

After a long chat with the people at Aldershot, we decided that they’d really like something about their military vehicles. For a very small site, their collection of military vehicles is really impressive. Particularly for someone like me who is definitely not an engineer.

I didn’t even know there was such a thing as a “favourite tank fact”, much less actually have one.

It’s been a steep learning curve.

We designed a session where the students play members of a fictional regiment who have to create vehicles to get to remote villages to deliver aid after a natural disaster. They are given a problem but they can solve it any way they like.

The idea is that they go and look at the actual vehicles and use them as inspiration and to help their understanding of the concepts involved.

There are all sorts of links to the STEAM areas of the National Curriculum but they are lurking under the surface during the session as the children focus on getting help to stranded people in time.

 Making models

In my wisdom and in possession of a reasonable budget I decided that we would give the students kits to actually build the models of the vehicles to meet the challenge. I found a German manufacturer of meccano-like kits for education and set to work on putting kits together.

My first attempts to build something with the kits is detailed in embarrassing detail in this post.

After that, I honed in on what we wanted to learn and built some kits that the students would use to build their vehicles. Each of those kits takes about an hour to put together from the box (apart from the bits that need glue: they take a little longer). Which is fine except that there are six of them.

Knowing how much each bit weighs and how big some of them are I could make calculations about what properties different configurations might have.

Now all I had to do was design a session that would help children understand weight, power:weight ratio and ground pressure.

(Ground pressure is the footprint of an object divided by its weight. It’s a measure of how much force is put through each metre square of a surface it’s on.)

If you will excuse the pun: no pressure.

The heat of combat

The first test of the session showed that the session was sound but needed a lot of work. I had tried to introduce too many things at once and things got confused. Not back to the drawing board, but a rethink of the process.

So I created this amazing map of the island they are supposed to be on and a series of small missions so that they work through the concepts as well as giving more people a chance to get their hands on the metal.

It looked great and there were some funky, if I do say so myself, materials I’d designed to go with it.

Second time of asking: STEAM hot

The second test was a very different affair. We walked through the concepts, literally in one case. We managed to clear up the footprint and feet are not necessarily the same thing. We even managed to talk about ground pressure and why it’s important.

Then we set them loose with the kits and chaos ensued. Don’t get me wrong, they were having a blast and learning. But it was bedlam all the same. They all managed to build something that came in under the target weight.

The second mission saw them trying to build something with a certain power to weight ratio. That caused issues, but they understood that they were trying to build something as light and as powerful as possible. They actually got through that with the minimum of fuss.

Then came the acid test: could they build something with a ground pressure low enough that their vehicle wouldn’t sink in a bog? Actually, can they understand what ground pressure is? The answer is yes, even if the term kilopascal causes all kinds of confusion.

This is where the two girls were observed explaining it to each other. It was priceless. Not because it was funny but because they had clearly understood it perfectly. Even if one of them couldn’t remember what it was called. We also saw a number of girls actively wrestle the build kits away from the boys because they wanted to do some engineering. Really.

You cannot buy that kind of engagement.

Operation: forces

It was a great session and a few minor tweaks away from being spot on. It’s even got a name now: Op: forces.

So, if you are looking to engage people with STEM then STEAM with its emphasis on problem solving and creativity may well be what you’re looking for.

For more information on the session, look here. There might well be offers on for early adopters.

Favourite tank facts

Remember that?

I now have two:

  1. My bicycle (158kPa) has a higher ground pressure than a 70 tonne M1 Abrams Main Battle Tank (105kPa).
  2. The British army has more horses than tanks.

So, now you know.

Posted by Past Participants Andy in Session reports, 2 comments
A trip down Meccano memory lane

A trip down Meccano memory lane

Eh? What?

I’ve been commissioned to create a learning session all about military vehicles. To cut a long story very short, I’m focussing on power to weight ratios and ground pressure of off-road vehicles.

Challenger main battle tank

Chieftain main battle tank

I figured that the best way to do this was to get the children to build their own vehicles. So I found Eitech, a German educational Meccano company. That gives me the ability to compare wheeled vehicles with tracked ones and see how they cope with different situations.

Only thing is, I reckon the last time I built anything with Meccano, my age was in single figures so this is something of a trip down memory lane. If not into the unknown.

Opening the boxOpening the box

Obviously I can’t set the children loose with kits I’ve never built so, in order to prepare properly, I need to build them myself.

So I’m going to document this journey for your entertainment and (maybe) edification.

The tracked vehicle

I’m going with the tracked kit first. Why not start with the most complex one?

Eitech tracked vehicleEitech tracked vehicle

First impressions

Open the box and tip out the, weighty, contents.

First impressions: My word! There are a lot of bits!

That's a lot of very small pieces

That’s a lot of very small pieces

And some of them are quite small.

Ok, let’s count them all to make sure I’ve got everything…

All in neat piles

All in neat piles

…Wow! That’s a lot of bits! They’re all there.

Adventures in Ikea

Now to actually build something. The instructions are very much in the style of Ikea: pictures and diagrams with no words. Shall we see how we get on?

Right. Eyes down, look in!

Step 1: not too bad so far. Haven’t dropped anything yet. It even looks like the picture.

Getting started

Getting started

Oh, maybe not. That bit there needs to be one hole further along. Ah, right. Now it’s better.

Now for step 2: the sides. I’m beginning to suspect that the designers had smaller hands than me.

One side done. That was a little fiddly. I suspect the designers had more hands than me, and more manual dexterity. Bodes well.

Sides on

Sides on

Their diagrams also leaves a little to be desired in terms of clarity. Which is unhelpful.

The second side is better. I think (hubris alert) I’m getting the hang of this.

On a roll

Steps 3 & 4: easy peasy. I reckon it’s the front and the back.

fore and aft

fore and aft

Step 5…Oh. I’m  not entirely sure what’s going on here…this could be tricky.

  1. I think I’ve got it…How small are their hands! Really tiny. I’m going to start using tweezers to get these bits in place! Wow!
Where has it gone?

Where has it gone?

AAAARgh! I’ve just dropped a nut into the guts of the chassis and have been reduced to shaking it until the bit falls out again!

Right. Unscrew that bit a little, push this bit through the gap, hope that my finger can hold the nut in place whist I….AAaaargh! Try again…Aaargh! One last time. Got it! Now screw up all the bits I undid. Aaah.

On to the next step.

Step 7

Step 6 was inconsequential.


Step 7: fiddly but doable. Keep going. Nearly there.

Refill of coffee

Step 8: roof on. The end must be in sight now. Surely?

No, apparently not. Axles on. Eh? What? Aaaah. Good job I know what a lock nut is and how it works, otherwise I’d have been scunnered!

axles

axles

And I’m not sure their axles are long enough. Nrrr!

Bucket!

Now for the bucket. This is pretty straightforward.

Bucket!Bucket!

Aaaaaah! I see! The red spanner has a little slot that will hold a nut while you screw a bolt into it. Why didn’t I realise this before? That might make things a little easier.

Spanner!

Spanner!

Now to put the bucket on. Yes!

No! Friction washer in the wrong place. Yes!

Acid test

Right. Let’s push it along the carpet and see if the wheels fall off…

Digger

Digger

…Nuts. The wheels fall off. Actually, the nuts holding the axle in place come loose and the axle threatens to come off, but it’s pretty much the same thing. Partially dismantle it and tighten everything up again.

Why is there a nut on the carpet? Where has that come from? Oh. There. Right, partially dismantle it, refit the nut, tighten everything up again.

Put the wee manny in the cockpit and we’re done!

Now, with driver

Now, with driver

I’ve never felt so good completing something designed for 8 year olds.

I’ve got a bit of thinking to do.

Truck

This should be much simpler. There are far fewer pieces. There’s even a few leftovers for if (when) one or two of the screws haven’t been faced properly.

Right then

Step 1:

Dear sweet Jesus! What? Step 1 is, apparently, just put the entire cab together. 20 bolts in total in one step. Right then, let’s get to it.

Actually, that wasn’t too bad. Maybe I’m getting the hang of it.

Cab

Cab

Step 2. Nuts! Concentrate. Take it apart again and put it together right.

Step 3. Oooh, a new piece. That could make taking it apart difficult.

Information overload

It’s another “just do these thirty things” step. OK, look closely. How does this work? Aaah. That makes sense. Oh. Remember those new bits? They’re totally in the way for this step.

And the rest of it

And the rest of it

Oops. I’ve just put two pieces together that were supposed to go into something and then be assembled. Now I can’t get them apart again. Maybe I can prise them apart with my Leatherman? No. What about the blade? Maybe…Ow! Ow! Great. Now I’m bleeding. That bit was cosmetic anyway. You know what? I don’t think I’m going to bother with it.

truck

truck

I’m finished apart from that.

I’m going to go and put a plaster on.

Look: I made a thing!

Look: I made a thing!

Posted by Past Participants Andy in Session design, 0 comments